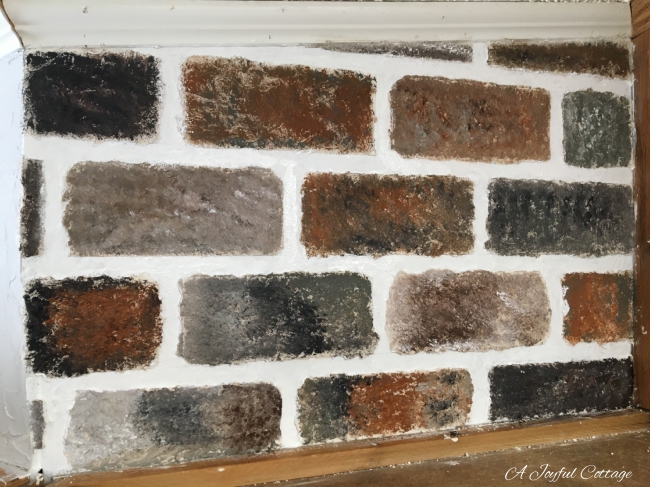
This close up of the wall shows how authentic the brick looks.
Here's how I achieved this faux brick wall.
Applied one coat of sealer/primer to the VOG (Vinyl-Over-Gympsum) wall.
Created a template with 3/4" masking tape.
Spread a thin coat of joint compound over the entire template, making sure to leave tabs of the masking tape revealed. This gives something to pull, and then peel off the masking tape.
Here's what that looks like.
Now the faux brick wall is ready for painting.
While they were still wet, I painted each individual brick with Folk Art acrylic paints in various colors. Also, after the painted bricks were dry, I went back in with an old table knife and added joint compound between the bricks to give the look of mortar. This is something I haven't seen anyone else do. I'm thinking about painting the "mortar" in a color that gives it more of an aged appearance. Maybe ivory, or pale gray. What do you think?
Hugs,
Youtube faux brick wall videos:


