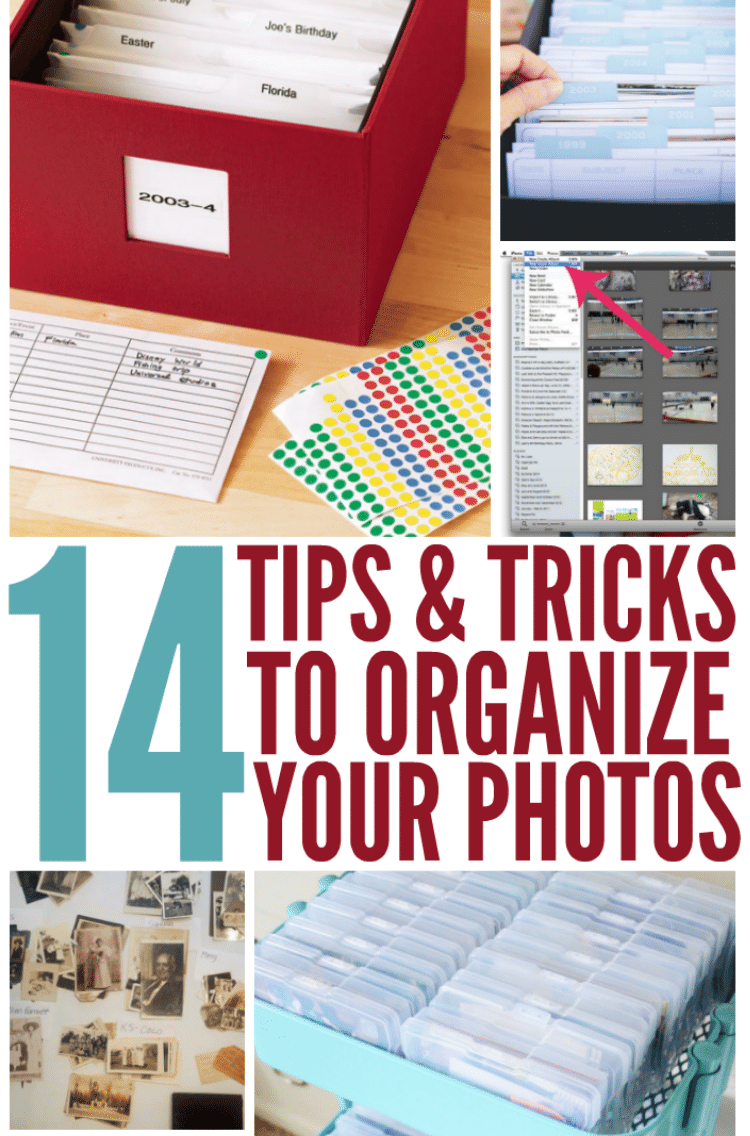
Do you feel overwhelmed by the large number of photos you have at home? Or do you feel a pang of guilt every time you look at that shoebox of photos in the back of your closet? Wonder when you’ll ever find time to set up a photo organization system that will enable you to finish the baby book, the wedding album, or your family photo book from last year? We feel your pain!
Although we love pictures, we tend to put off organizing them (or even printing them) for so long, missing out on the opportunity to reminisce. Well, we won’t do that anymore! We are going to show you how to deal with your photos and bring to order your lifetime of printed photos and get them organized. We’ve found simple photo organization ideas to get those stacks of pictures sorted, categorized, and put away properly once and for all.
Decluttering and organizing your printed photos are just as necessary as keeping your home organized. First, designate a space in your home to be your temporary work area where you can set up a table.
14 Photo Organization Ideas
1. Group Travel Photos by Destinations
The best part about finishing your travel is the bunch of incredible photos you have taken. These photos will give you a chance to relive your favorite memories from a particular trip or adventure. When sharing with friends and family, these photos will serve well in bringing others to a specific place and moment that you had experienced.
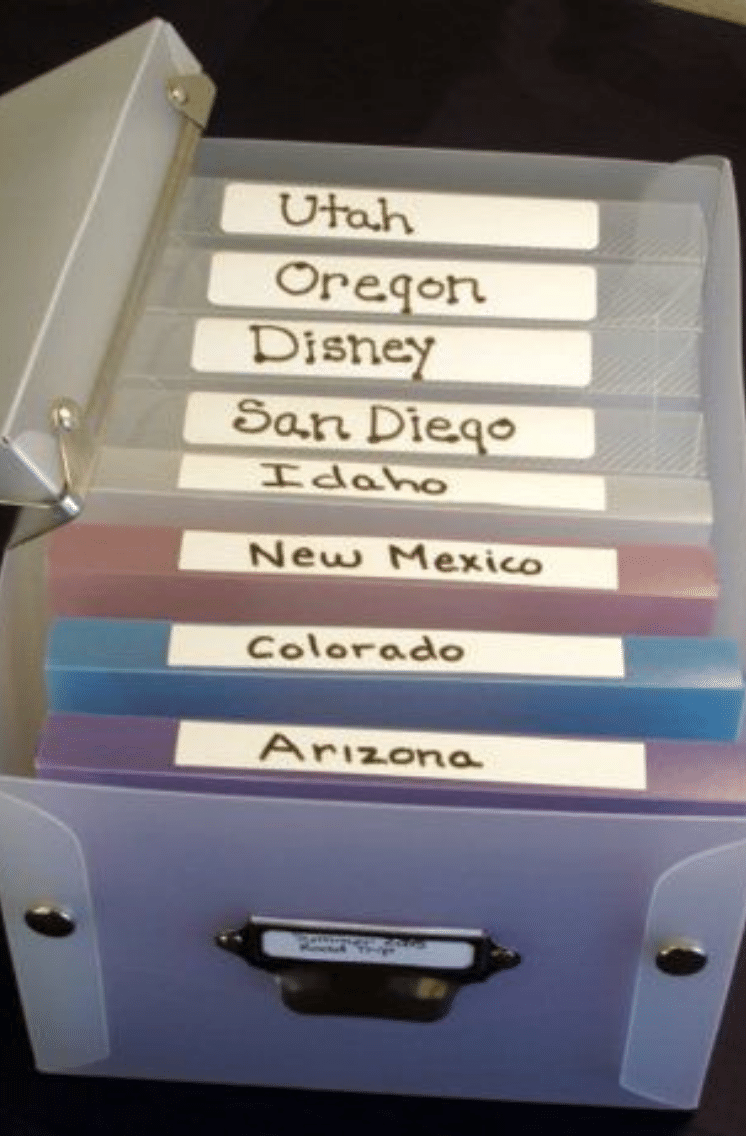
One of the ways to organize these travel photos is to group them by travel destinations. Then, you would place them in simple photo storage boxes and label each storage box by the name of the places you have traveled.
2. Organize Photos by Year
Year after year, month after month, week after week photos accumulate leaving us with an overwhelming stack. The best way to get through these is to organize them into boxes by year. You can usually fit 2 – 3 years’ worth of photos in a single box unless you take an unusually large number of photos. Start by sorting the photos by decade. If you don’t remember the dates, take a wild guess and continue until you have them in a general order.
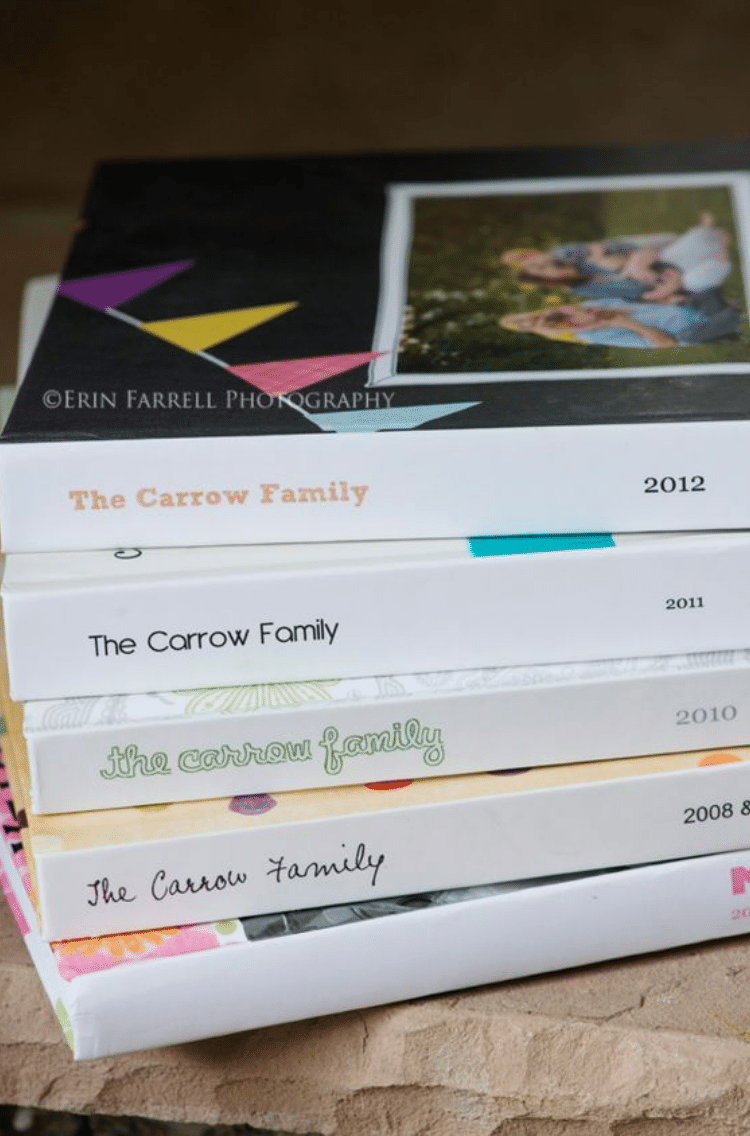
3. Create Family Yearbook For Each of the Year
4. Organize Photos Using Printable Photo Dividers and Tabs
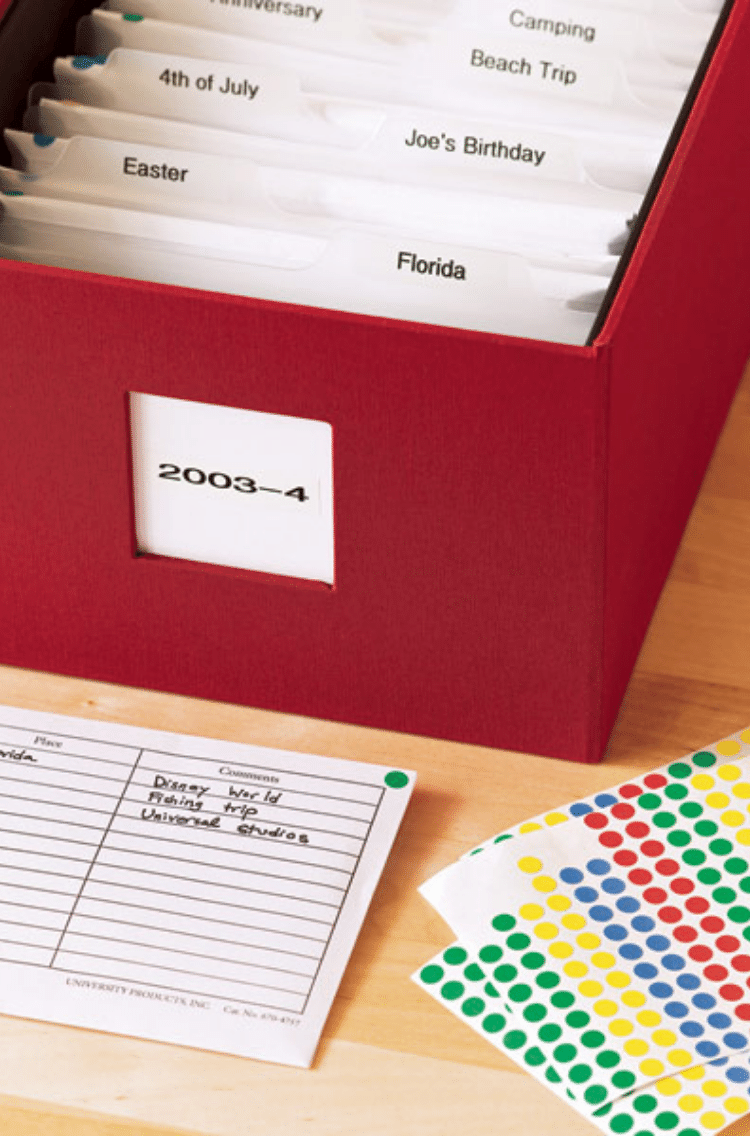
It is great to use dividers and tabs to organize your printed photos. They have sections for location, date, and notes. Use these simple but functional free printable photo dividers to organize your photos by year. Finally, you will be able to get your photos out of a disorganized state to an orderly state. This will make searching for photos a breeze.

5. The Fail-Proof Digital Naming System
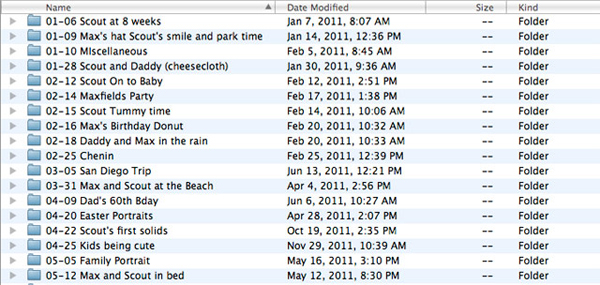
Have you made a mess of the digital photo files on your computer? There are benefits to having a good naming system. As the files on your computer, digital photos are worth organizing even though they do not take up physical space like your printed photos. Organizing them efficiently will save you time and naming them properly is the key to success.
Here’s a fail-proof naming system that you want to follow. Organize them by year, and within each year’s folder, name the files with the month, day, and include the description of the photos.
6. Genius Photo and Memento Organization System
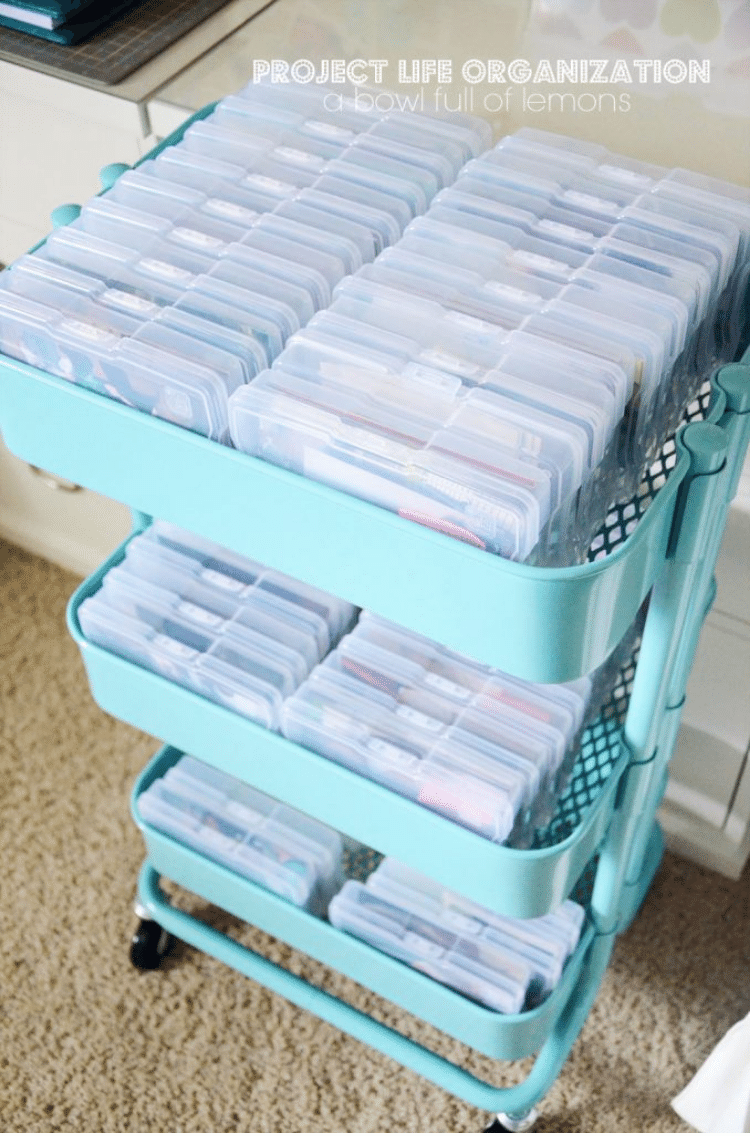
Do you scrapbook? This photo and memento organization system are a genius way to keep all your memorabilia in one place until you are ready to use them. Each week, pictures and mementos like printed media, artwork, awards, and other keepsakes can be stored in these plastic file boxes of the IKEA cart.
Scrapbooking is a great way to organize and arrange your personal or family photos. This is where you can tap onto your creative flair by adding ribbons, die-cuts, stickers, journal entries, etc. You can personalize and preserve your favorite memories and proudly display them while keeping them in one safe place.
7. Storing Photos in a USB Flash Drive
USB Flash Drive is the most convenient way to store, transport, and share your photos at once and they can hold a lot. The USB Flash Drive comes in various sizes from one gigabyte to a terabyte. As a measure of extra protection, upload your photos in a flash drive and put them in a fire-proof safe. While you are at it, make additional copies to pass to friends and family to store for you. This precautionary step acts as an additional backup outside your home.

8. Delete All but Keep Your Favorite Photos
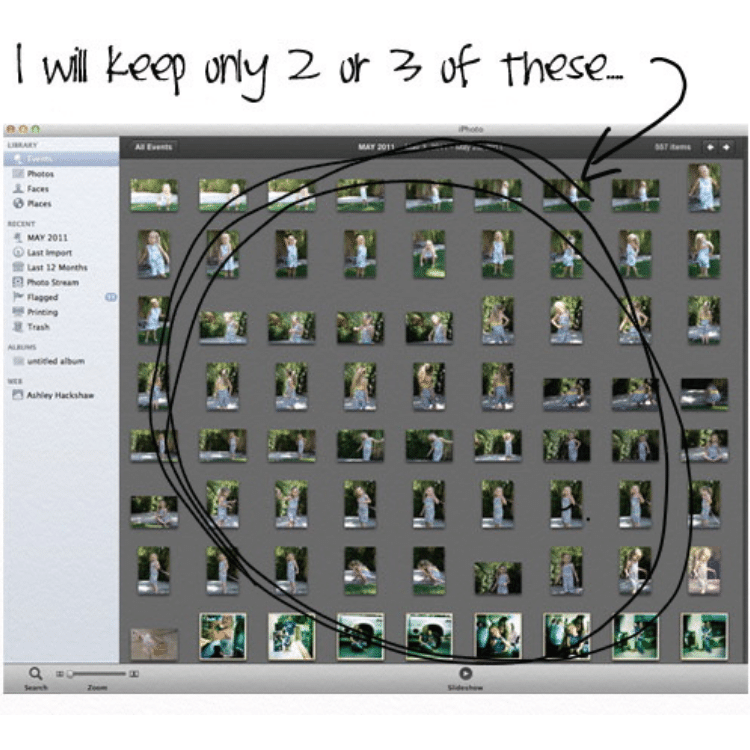
If you’re anything like me, you may take a dozen (or two) photos of nearly the same pose to get the picture you want. But there’s no need to keep all of those pictures! Start by figuring out which photos mean the most to you and pick your favorite 2 – 3 images. Then, delete images that don’t capture your heart, and also get rid of the duplicates, blurry, or unnecessary ones. The fewer photos you have, the more you’ll appreciate them.
9. Sort Photos in Smart Album
If you’re overwhelmed and don’t know what to do with all those photos on your iPhone, take heart. You can organize all of them (yes, ALL of them) in 10 minutes or less using Smart Album. iPhoto album allows you to drag images from various events and manually place them in folders that you create. iPhoto Smart album allows you to gather and display photos based on the criteria you set in your library.
10. The Parking Lot Method of Sorting
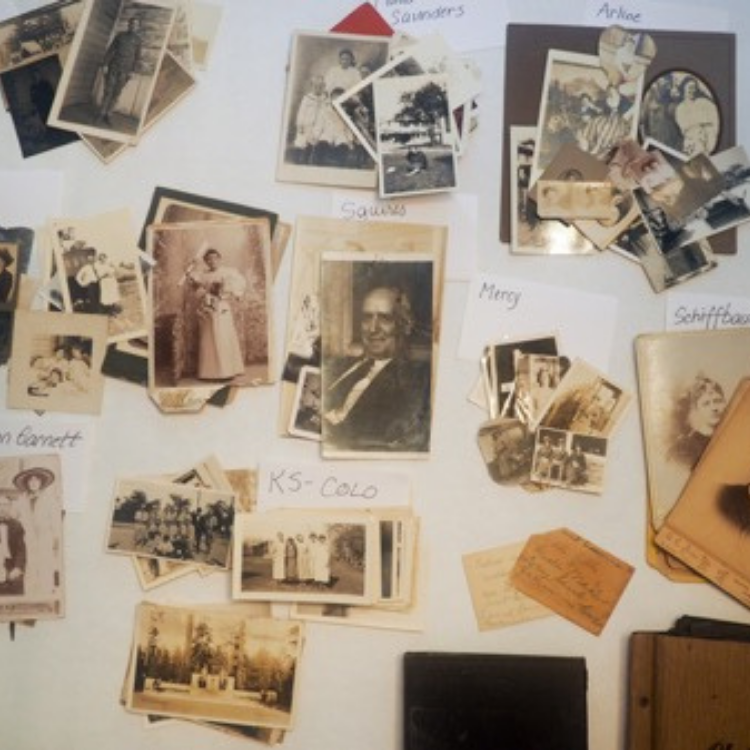
Did you inherit a lot of old family print photos and aren’t quite sure who’s who? The parking lot method of sorting old family photos can be a huge help! Look through each of the photos until the faces become familiar, and then start grouping them into families. Label the photos by name, place, event, or what makes sense to you using the 3 x 5 index cards or sticky notes. Continue to identify the photos and group them as much as you can but focus on one box or one stash at a time so you are not overwhelmed or get the photos mixed up.
11. Move Your Photos to an External Hard Drive
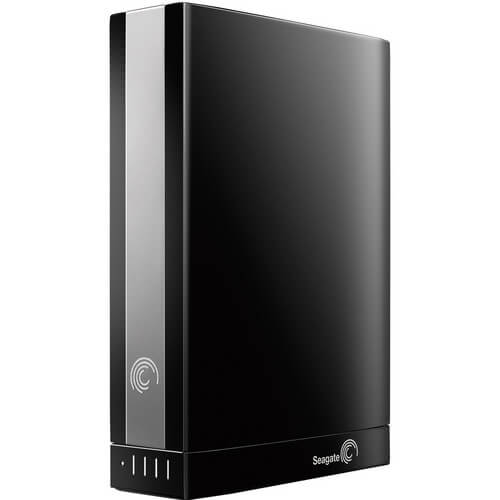
For snap-happy moms like me, an external hard drive is a must for photos. I personally have one that’s split into two hard drives… it’s a backup for my backup. Yes, I’m that paranoid about losing my pictures. External hard drives are excellent for storing photos. They are economical and they provide quick access to your photos whenever you have need of them.
12. Make Digital Copies of your Printed Photos
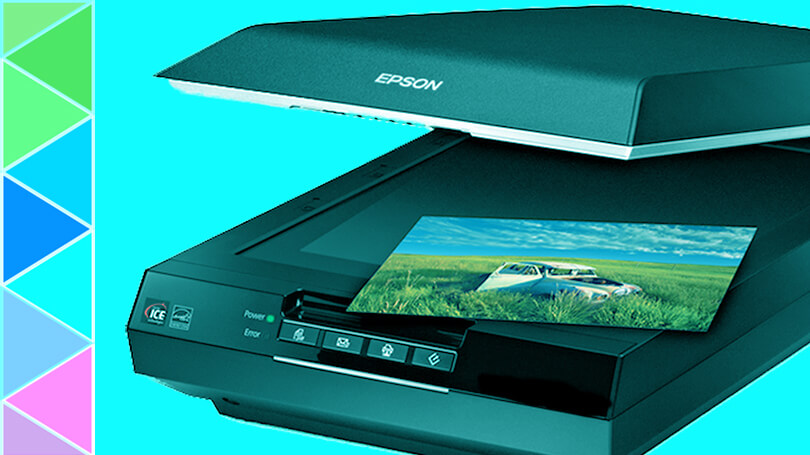
Speaking of not wanting to lose photos, there’s always a risk of that happening with old photos that you only have physical copies of. Don’t forget to scan your old photos using all-in-one printers that can print, copy and scan. Making digital copies of your photos allow you to make as many backups and copies as you wish. You can upload them to social media easily and quickly as well.
13. Digital Scrapbooking Using Project Life App
Create scrapbooks with the Project Life App for your iPhone. The simplicity of this app makes digital scrapbooking easy, fast, and readily accessible at your fingertips. The use of built-in templates and pre-designed artwork allow pages to be easily created. What an easy way to get your family yearbooks done each year!

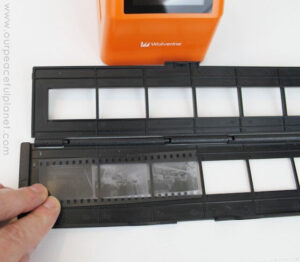
14. Create Digital Version of Photos from Slides and Negatives
Preserve your film slides and negatives by digitizing them so they can be easily shared with friends, family, or online and on social networks like Instagram and Facebook. Additionally, you can store them in the clouds or copy them to USB Flash Drive or External Hard Drive so that you can save them for future generations or for some family tree research.
Follow these tips to create digital versions of your slides and negatives.
Begin the journey of clearing out your camera roll and sorting through your printed photos so you can keep your memories safe. Sorting your photographs, be it digital or print or both can be a daunting task. However, following our 14 Simple Tips and Tricks photo organization system will make it easy for you to sort and organize your photos. These practical tips will also help you get rid of clutter, and organize your precious snapshots to make them easy to retrieve and access. Therefore, allowing you to revisit these memories any time and any day and share them with the people you love and care about.
Get Even MORE Organization Tips & Tricks from Crazy House:
- 16 Ideas for the Most Organized Desk Ever
- 18 Coat Closet Organization Tricks for Busy Families
- How to Organize Your Kitchen with 12 Clever Ideas
The post 14 Simple Tips and Tricks to Organize Your Photos appeared first on DIY House Hacks - One Crazy House.

