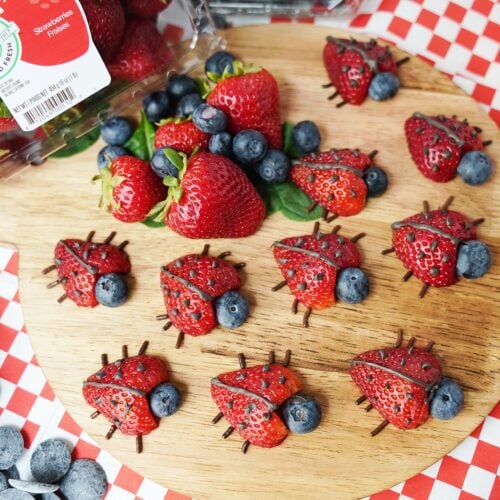
Juicy strawberries, dark chocolate, and a burst of blueberries transform these average fruit snacks into adorable strawberry ladybugs. Simply use the melted chocolate to “draw” the wings of your ladybugs and attach the blueberry at the top for a little head. This recipe is fun, easy, and your kids will love to help you make them. Perfect for a family picnic.
If you’re looking for a fun take on fruit for your family picnics this summer, you’ve come to the right place.
Strawberry ladybugs are the perfect addition to any outdoor get-together. Imagine unveiling your fresh fruit snack, and all the kids go crazy for it. It’s possible!

Strawberry Ladybugs is sponsored by Naturipe®.
You only need four ingredients and minimal prep for a fun strawberry recipe that everyone will enjoy.
And the best part is that these ladybugs come together in about 20 minutes.
But first, check out our easy tips to get fruit on your picky eater’s plate.
Secrets to More Fruit for Your Kids
Even as an adult — you eat with your eyes. We all do. And it still rings true with your children. That’s why we love creating fun spreads with tons of various fruits and veggies so our kids get excited about what we’re serving. And they actually want to eat it!
Here’s what to do:
Food Art
Food art is a fun way to present food creatively and visually appealingly, like a fruit bouquet. It makes everyday ingredients more appetizing for picky eaters. Create fun characters from your kids’ favorite tv show, game, or animal so they are happy to eat what you’re serving without a fuss. Just like they pick the Ariel or Mickey Mouse backpack for school because it’s something that they like, they’ll be more likely to eat something nutritious because of how it’s presented. Kids eat with their eyes first!
Prep Together
A study showed that kids who helped prepare their own food, including a salad, ate more of the dish they made themselves instead of similar recipes prepared by someone else1. So, get your kids involved. Food art is like coloring a picture with food. It’s fun, exciting, and you get to eat a yummy snack at the end.
If you have a hard time getting your kids on board with eating fruit, try these two tips and see if it helps.
How to Select Strawberries
Strawberries should be on display in the refrigerated area of the produce section in your grocery store. This helps keep the strawberries plump, firm, and red. Although they’re in the fridge, they should still be clean and dry, and there shouldn’t be condensation on your berries. No matter the size of your strawberries, they should always taste sweet and juicy.
Pick up a package of strawberries and take a minute to look them over. If you see any that are mushy or bruised, some of your strawberries are overripe.
Another tip is to smell the package. If the strawberries smell sweet, that’s a good sign that they’re ready to eat. But if your berries smell bad, even similar to alcohol, your strawberries are likely overripe.
If you spot a few overripe strawberries in the package in your hand, look for another one. You should be able to find some that are just right for your strawberry ladybugs.
Use quality fruits to increase your chances of success.
How to Properly Store
When it comes to storing your strawberries, it couldn’t be any easier. Store the container your strawberries came packaged in inside your fridge between 33℉ and 34℉. For longest-lasting freshness, don’t rinse, soak, or wash before storing them. When strawberries are stored properly, they can stay fresh for up to seven days. That means you have a whole week of opportunities for fun summer snacks your kids will love. Remember to store your berries in the fridge as soon as you get home for optimal freshness.
How to Prep
Although you don’t want to wash your strawberries before storing them, you should rinse them before you add them to a recipe and eat them. Gently rinse whole strawberries, including the green caps (leafy part on top), under running water. After you rinse all your berries, remove the caps with a paring knife and eat as is, or slice, dice, or chop for your recipe.
For strawberry ladybugs, cut your strawberries in half from end to end, and you’re good to go.
Ingredients
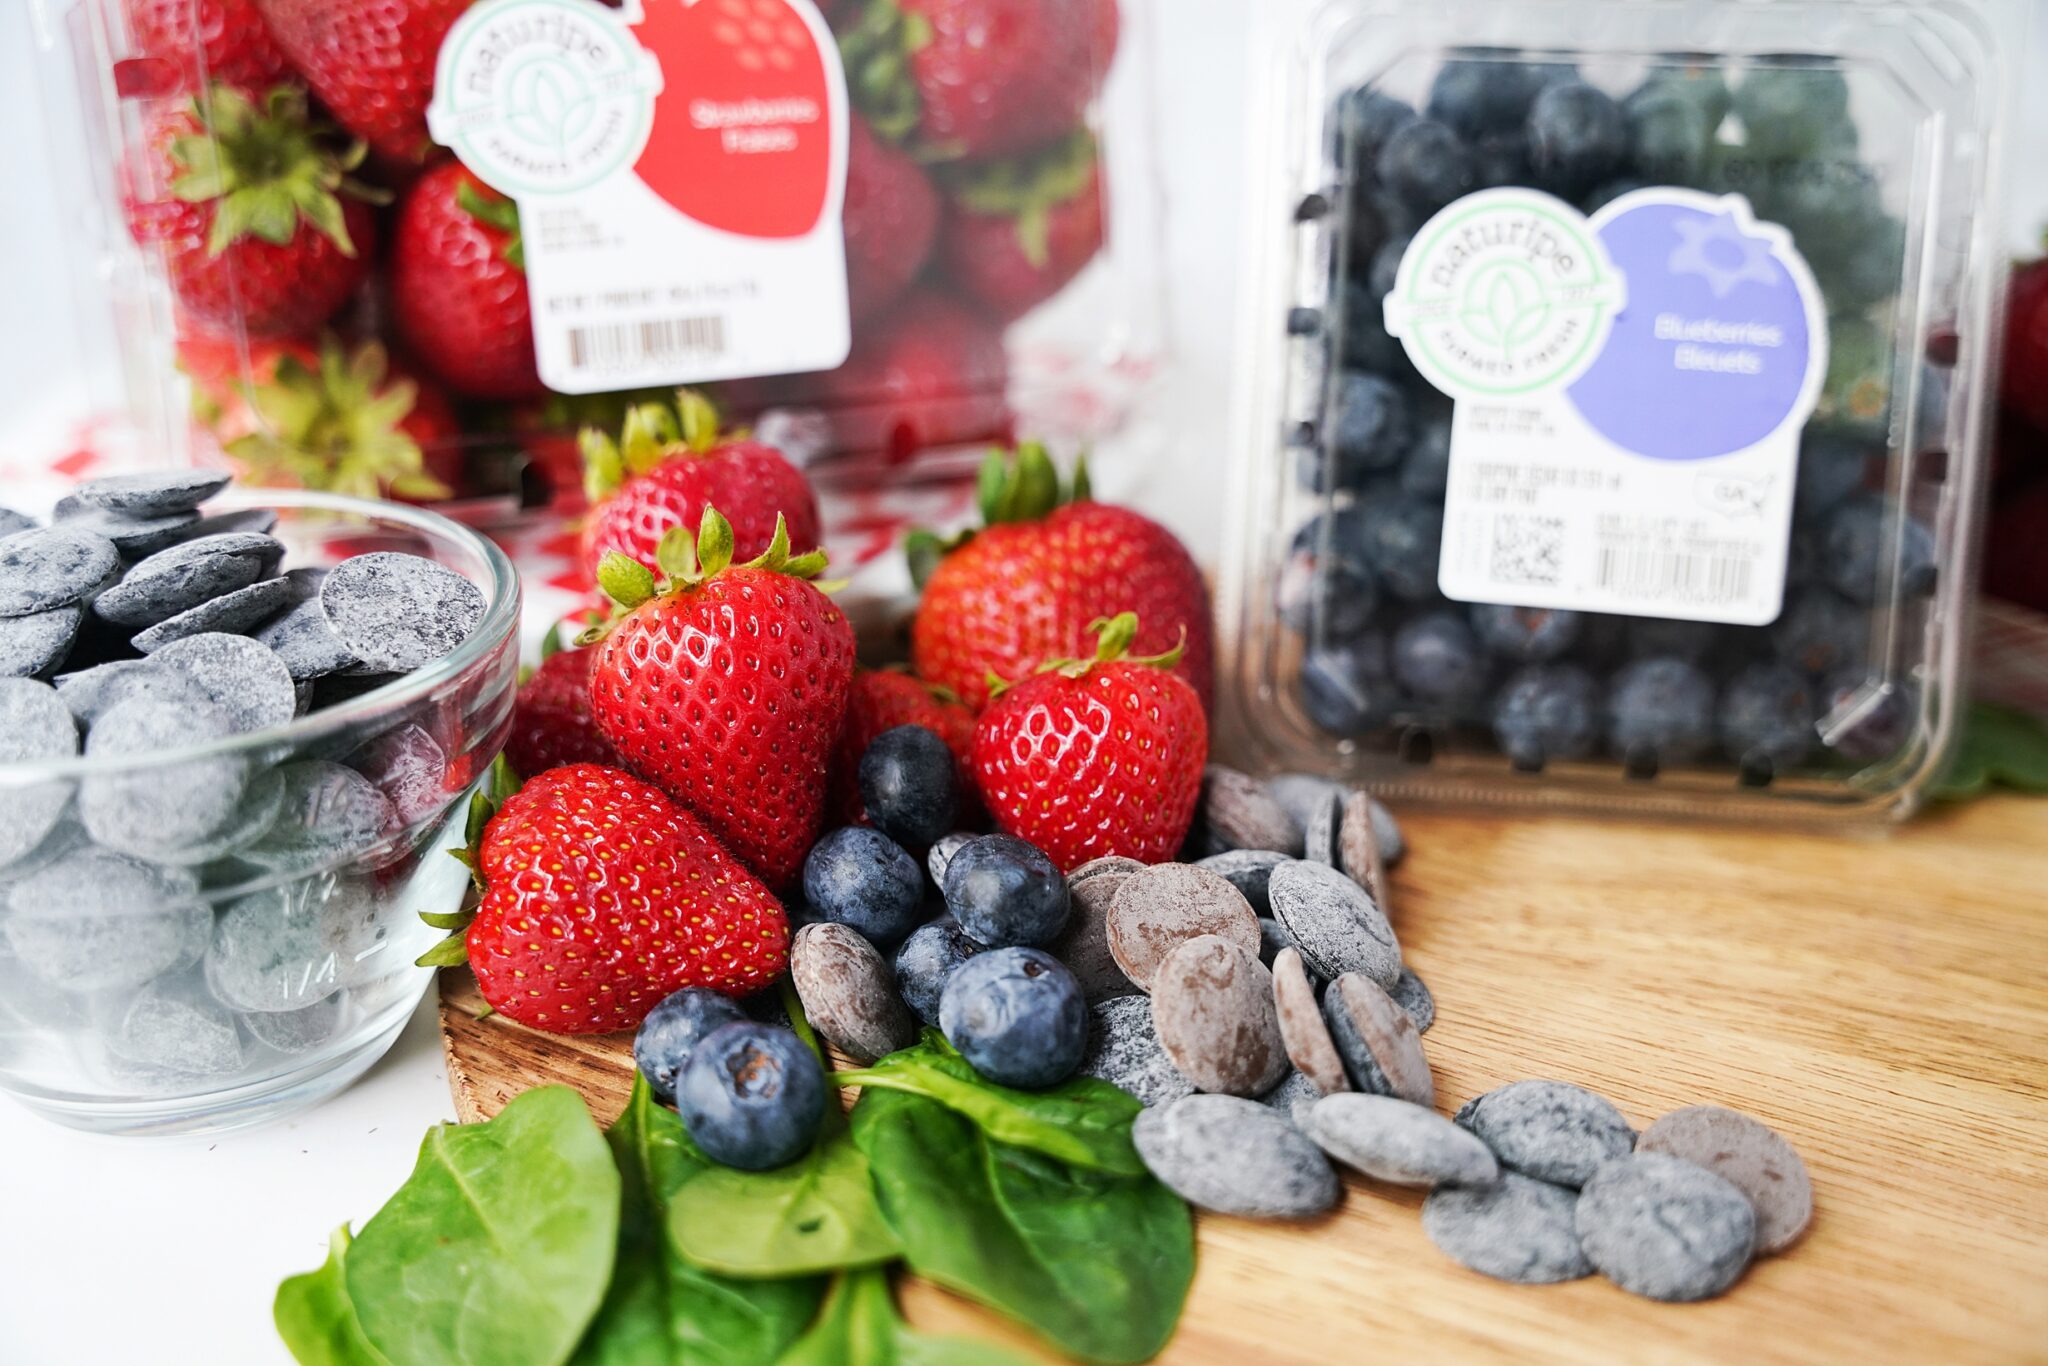
Strawberry ladybugs are fun, pretty, juicy, and sweet. You only need four ingredients to make this festive summer snack, and it hardly needs any prep work. Be sure to get your kids involved so they get excited about eating delicious fruit.
Naturipe® Strawberries
Bursting with flavor and available all year, Naturipe® is a solid strawberry choice. They label their packaging with a white sticker for conventionally-grown strawberries and a green sticker for their organic berries. Strawberries are a source of fiber, and just one cup has almost 150% of your recommended dose of daily vitamin C2.
Naturipe® Blueberries
As with all of their berries, you know we wouldn’t recommend Naturipe® Blueberries if they weren’t sustainably grown, high quality, and an additional burst of flavor to your strawberry ladybugs. Between the strawberries and blueberries in this picnic snack, your kids will meet their vitamin C quota for the day and they’ll actually be happy about it. Nutritious snacks for the win!
Chocolate
Melt some chocolate to create the wings, dots, and legs (optional) on your ladybugs. Use either chocolate chips or a bar of chocolate and melt it in a bowl. Both work for this recipe. The chocolate will also serve as the glue to attach the blueberry head to the strawberry body.
We used dark chocolate to capture the authentic ladybug look, but if you have a different chocolate on hand or your kids love white or milk chocolate, use it. We want them to get excited about eating their strawberry ladybugs, and that’s much easier to do when they like what’s on it.
Chocolate Sprinkles
Chocolate sprinkles are optional, but they make this recipe much easier and less messy. The chocolate sprinkles serve as the little legs on your ladybugs. Just dip them in some melted chocolate and attach them to the strawberry for easier strawberry ladybug assembly.
How to Make Strawberry Ladybugs
Step 1
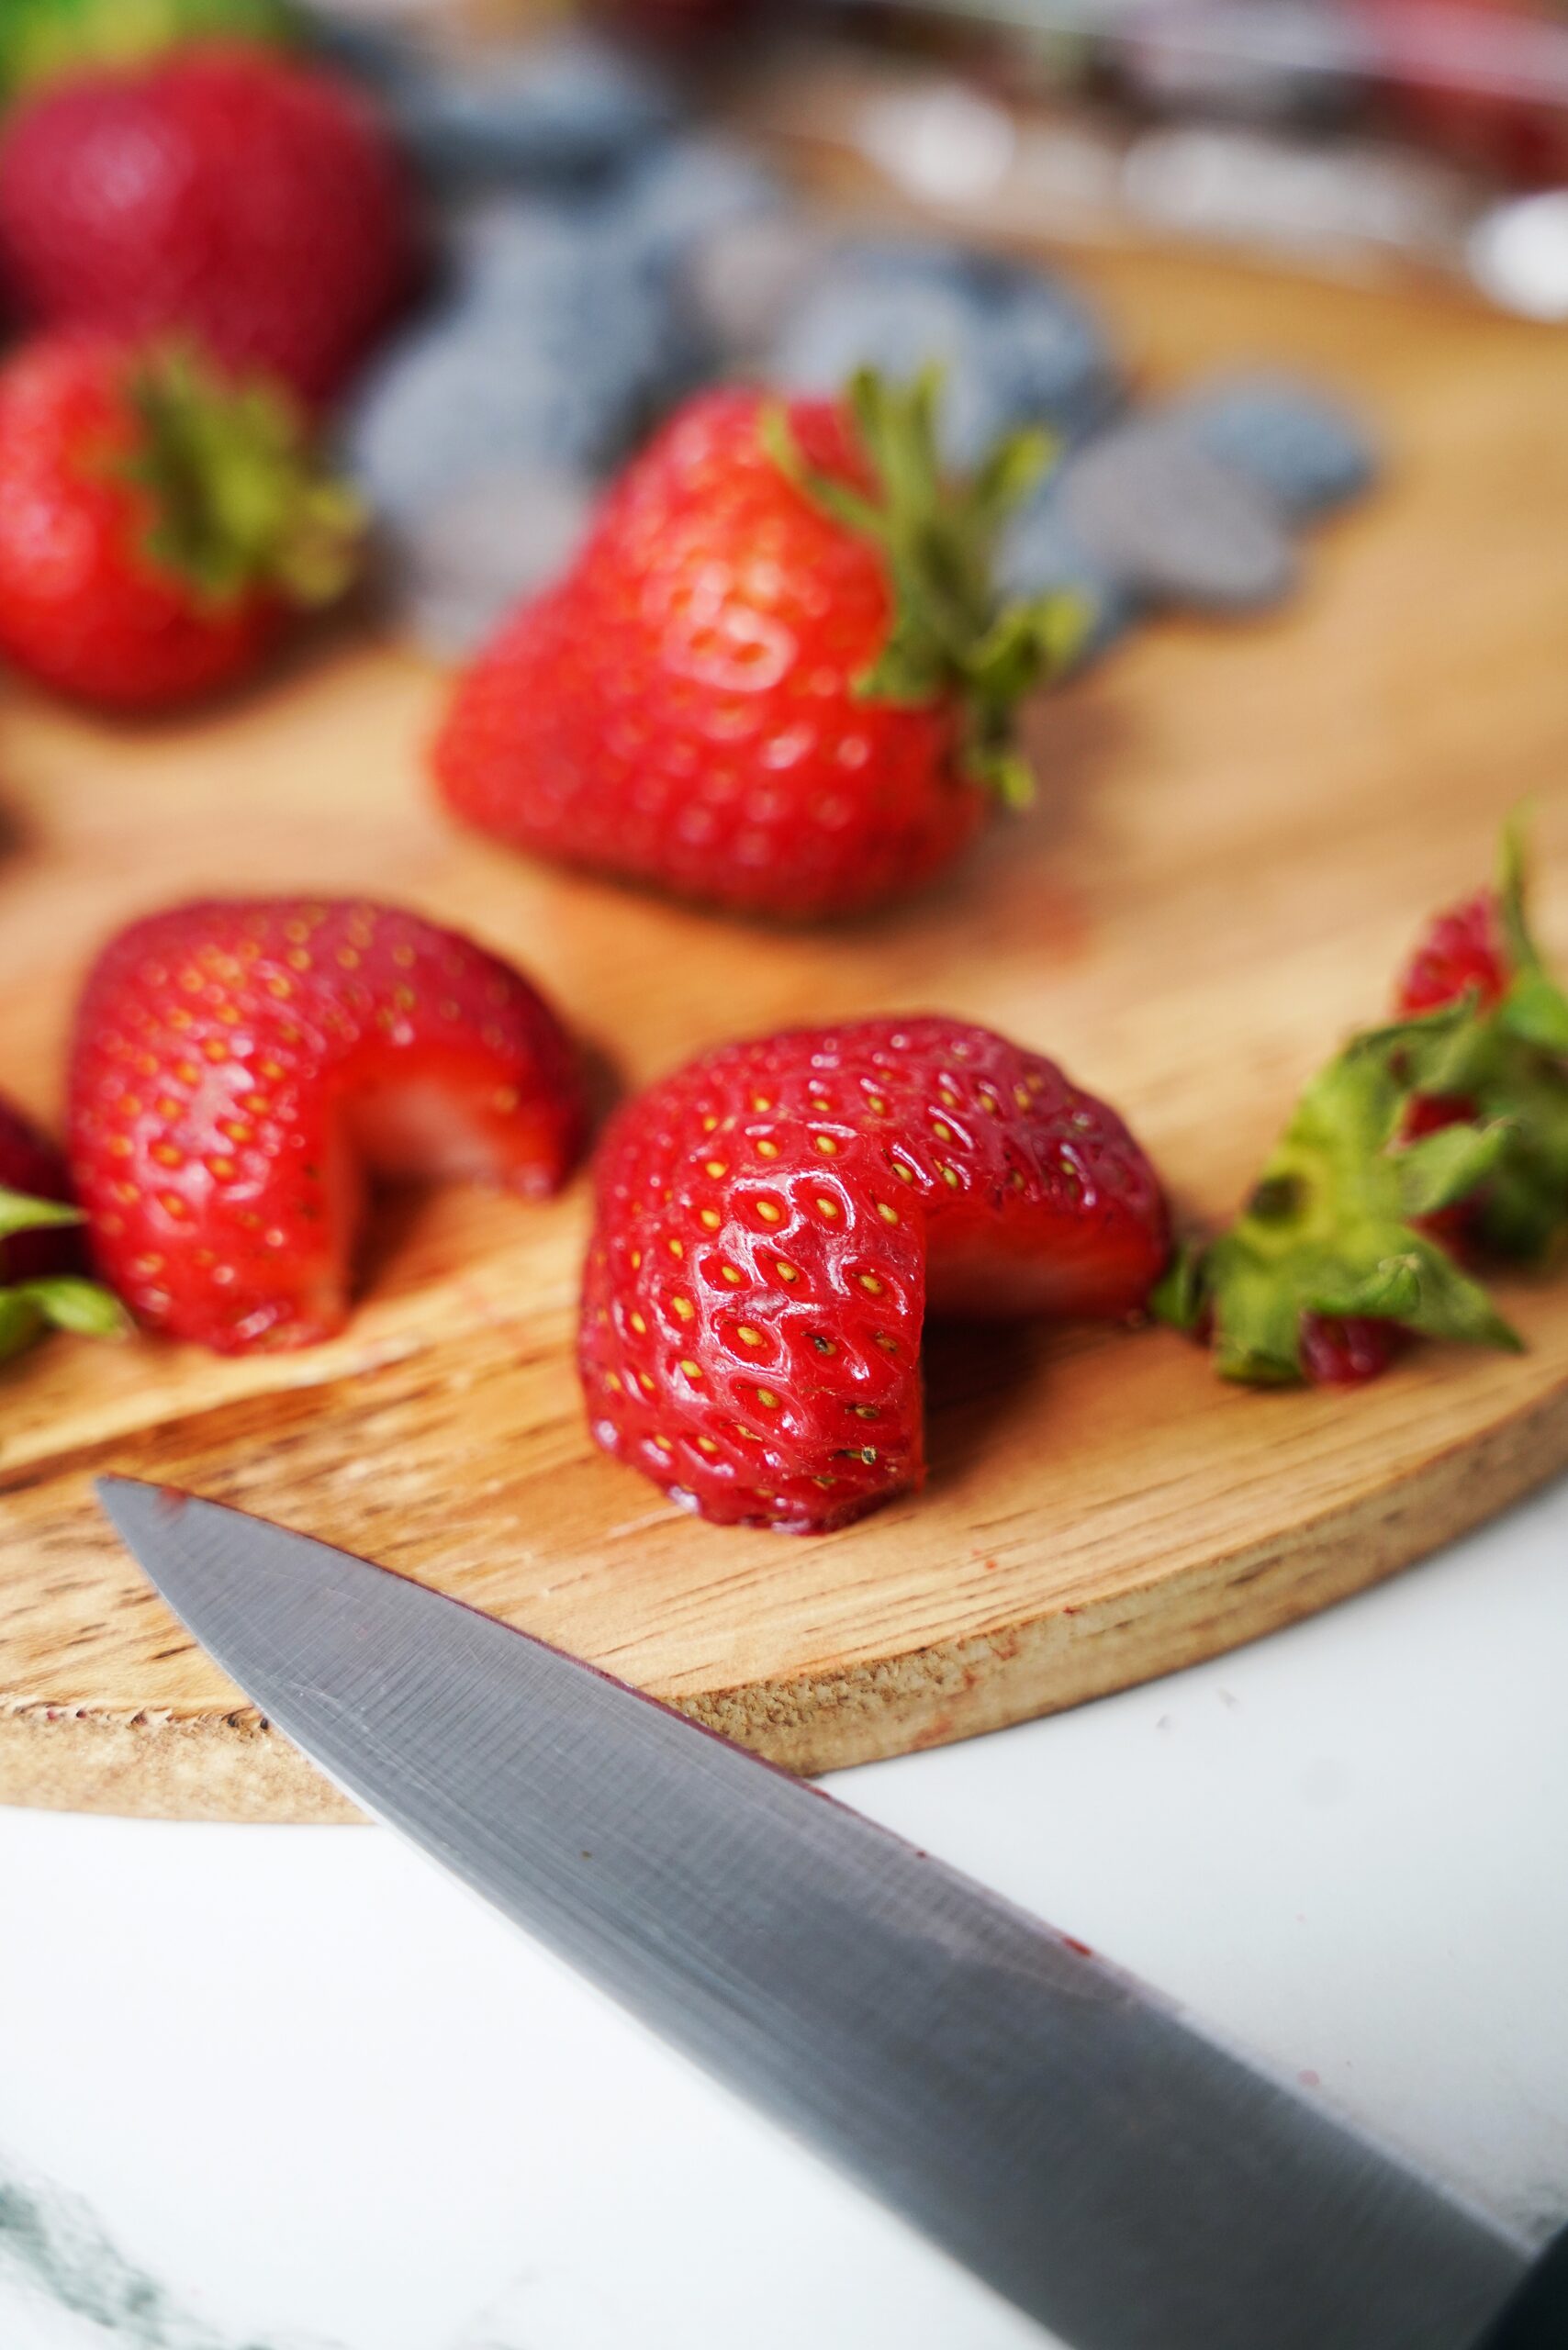
Rinse your strawberries under running water and use a knife to cut them in half from end to end. Then use a knife to cut a triangle shape at the top to remove the green cap. Repeat until all of the green caps are off of your strawberries.

Step 2
Melt your chocolate in a double boiler. Add about one inch of water to a saucepan and simmer over medium-low heat. Put your chocolate in a metal bowl and place the bowl on top of the pot. The bowl and the water shouldn’t touch each other. Stir with a spatula until the chocolate melts completely, and add to a piping bag.
Step 3
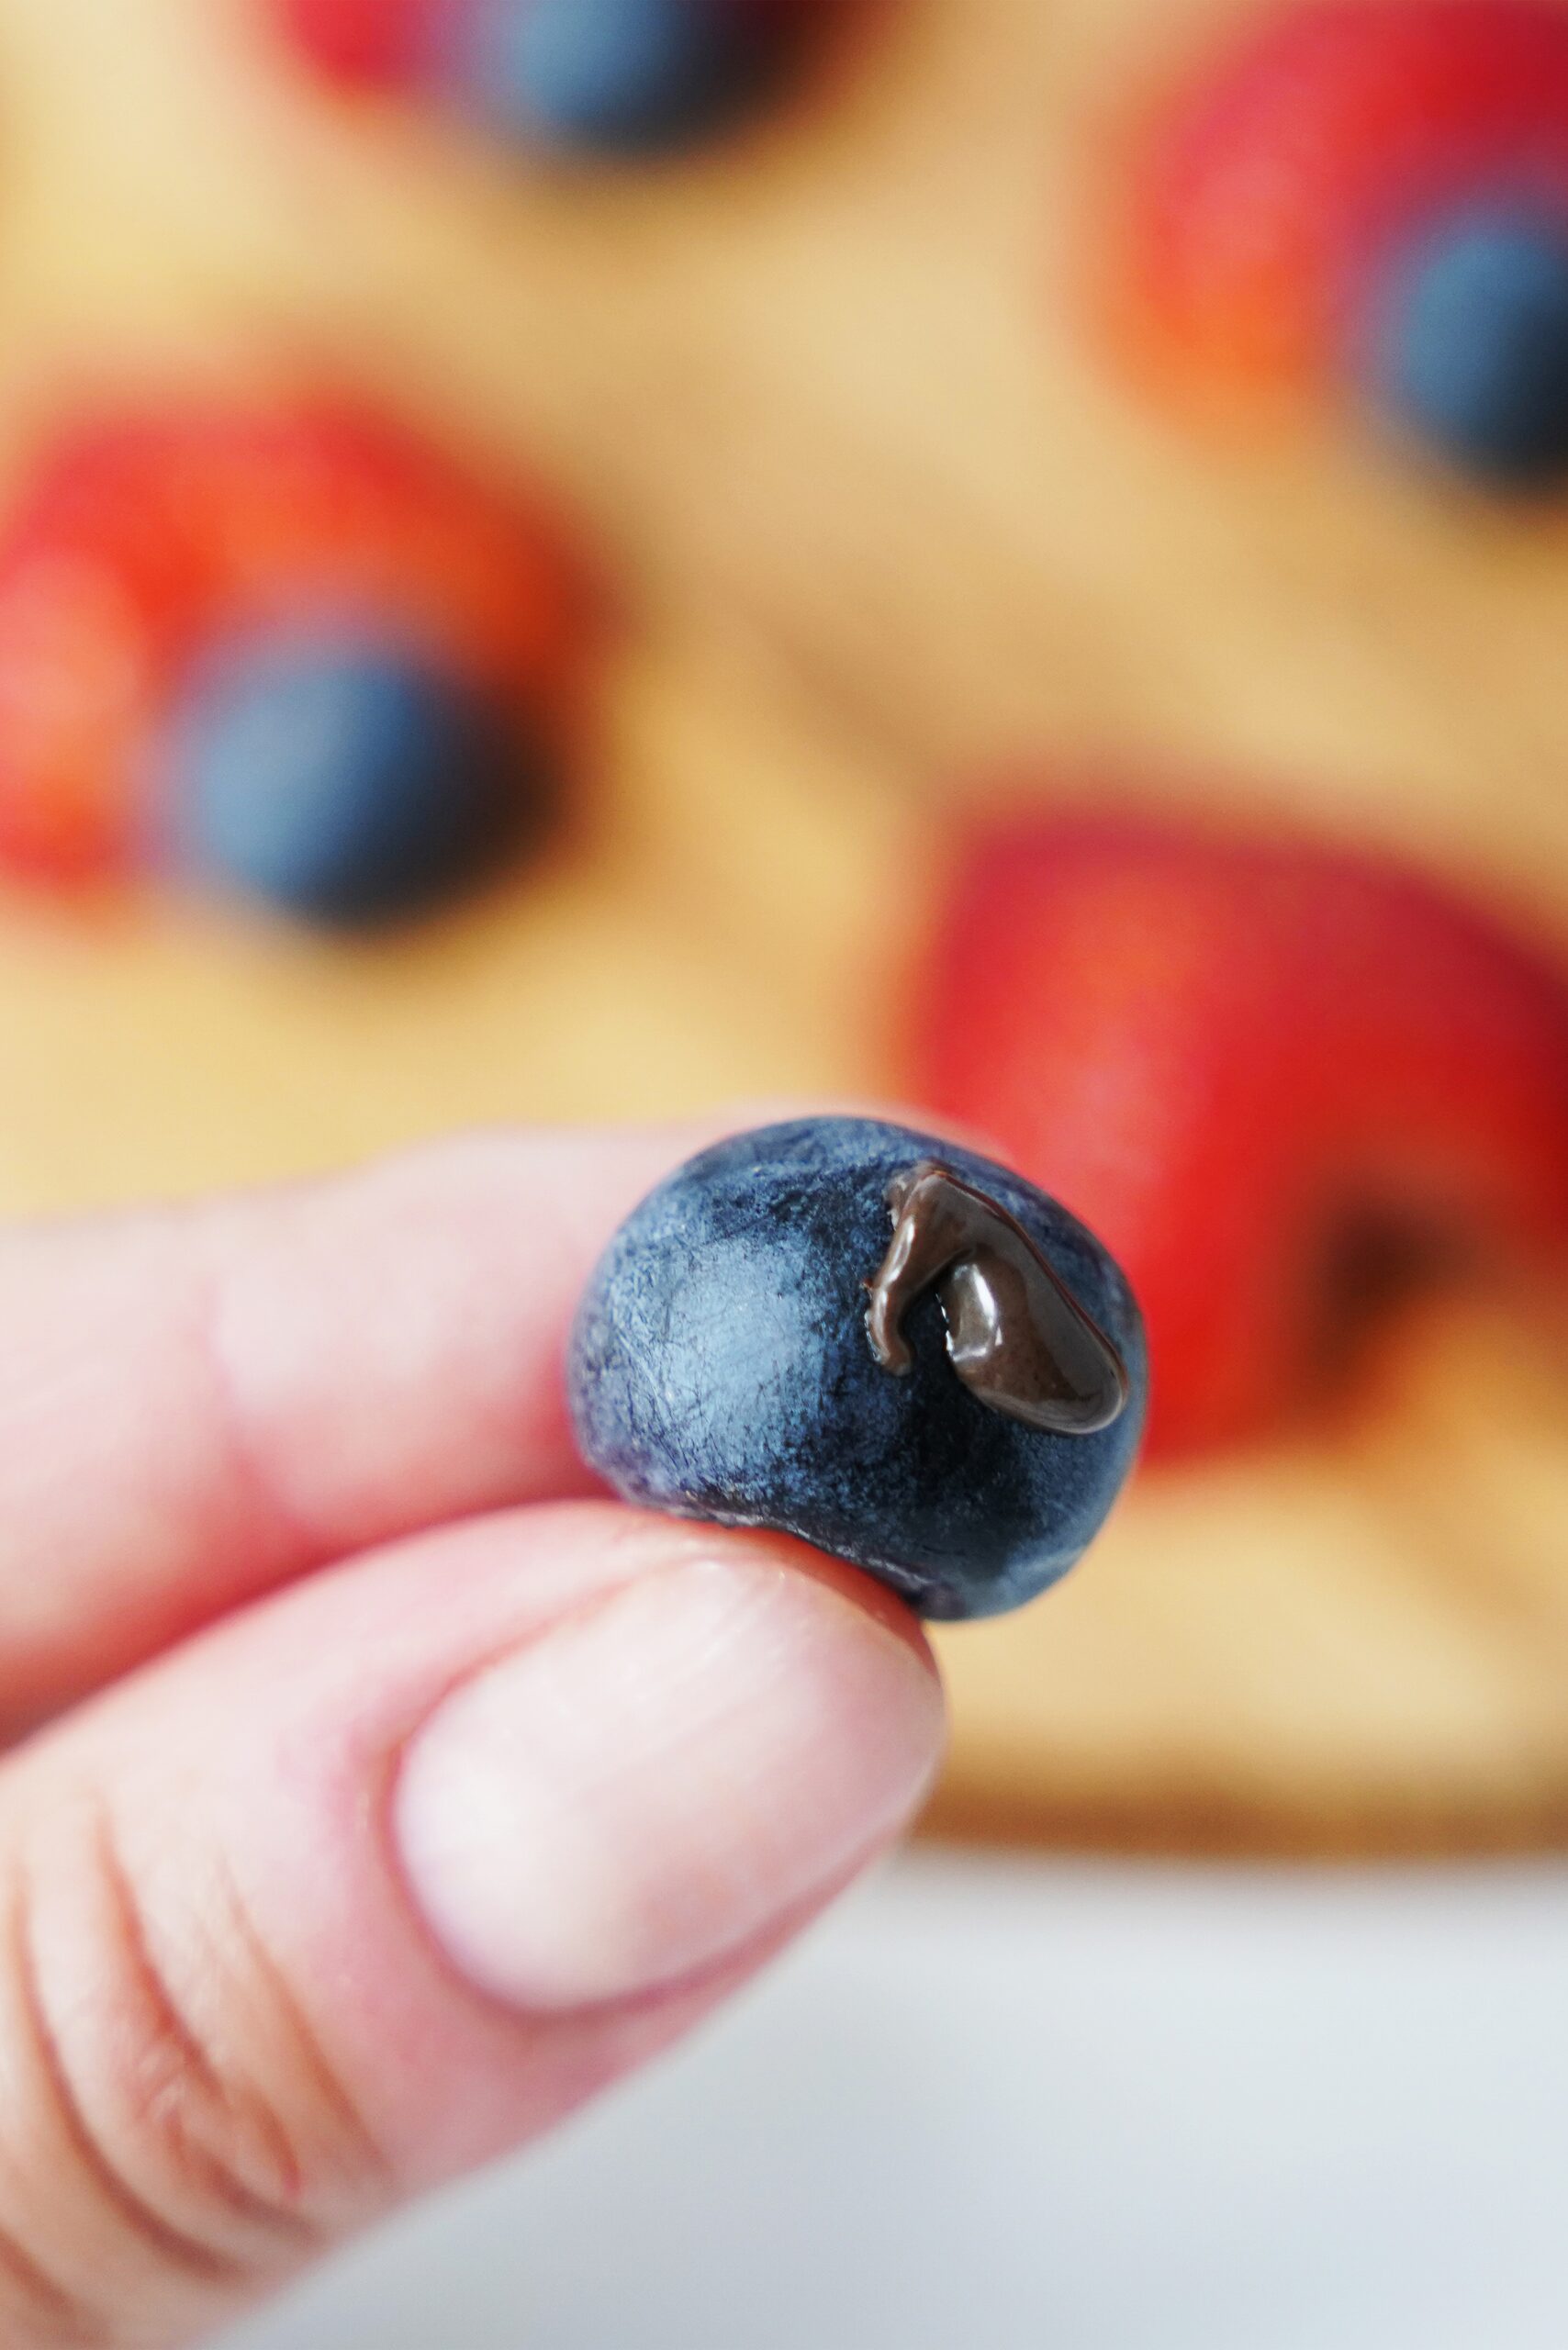
Use your piping bag to add a small dot of chocolate to each blueberry, and then stick each blueberry into the triangle shape you cut out of each strawberry. Continue steps three through four on all of your berries.
Step 4
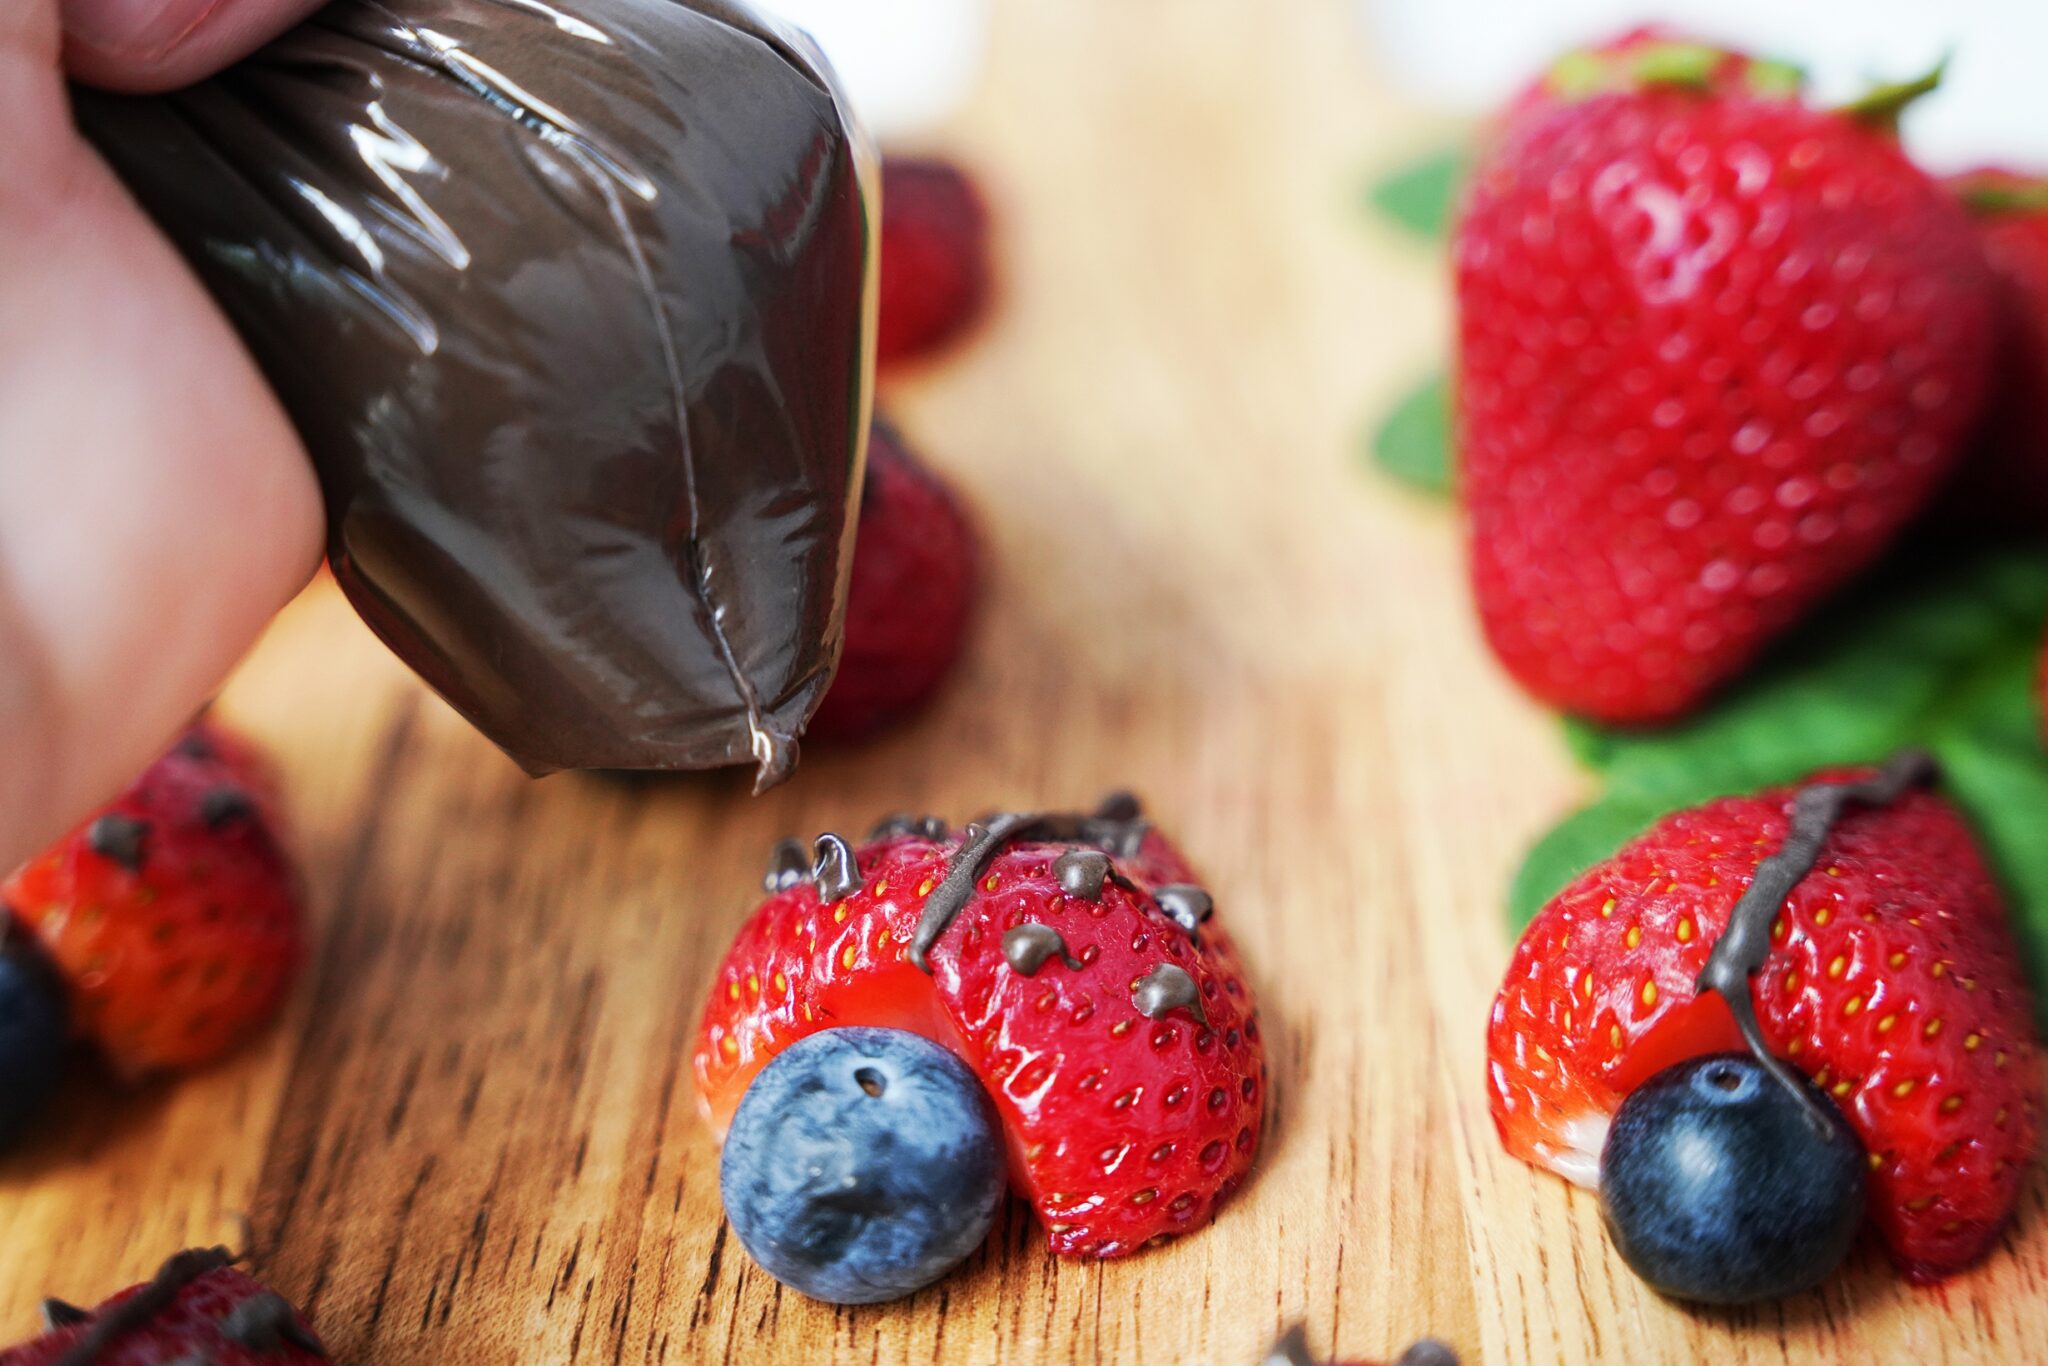
Use your piping bag to make a line down the middle of the strawberry and pipe small dots on each side. Continue this step on all of your strawberries.
Step 5
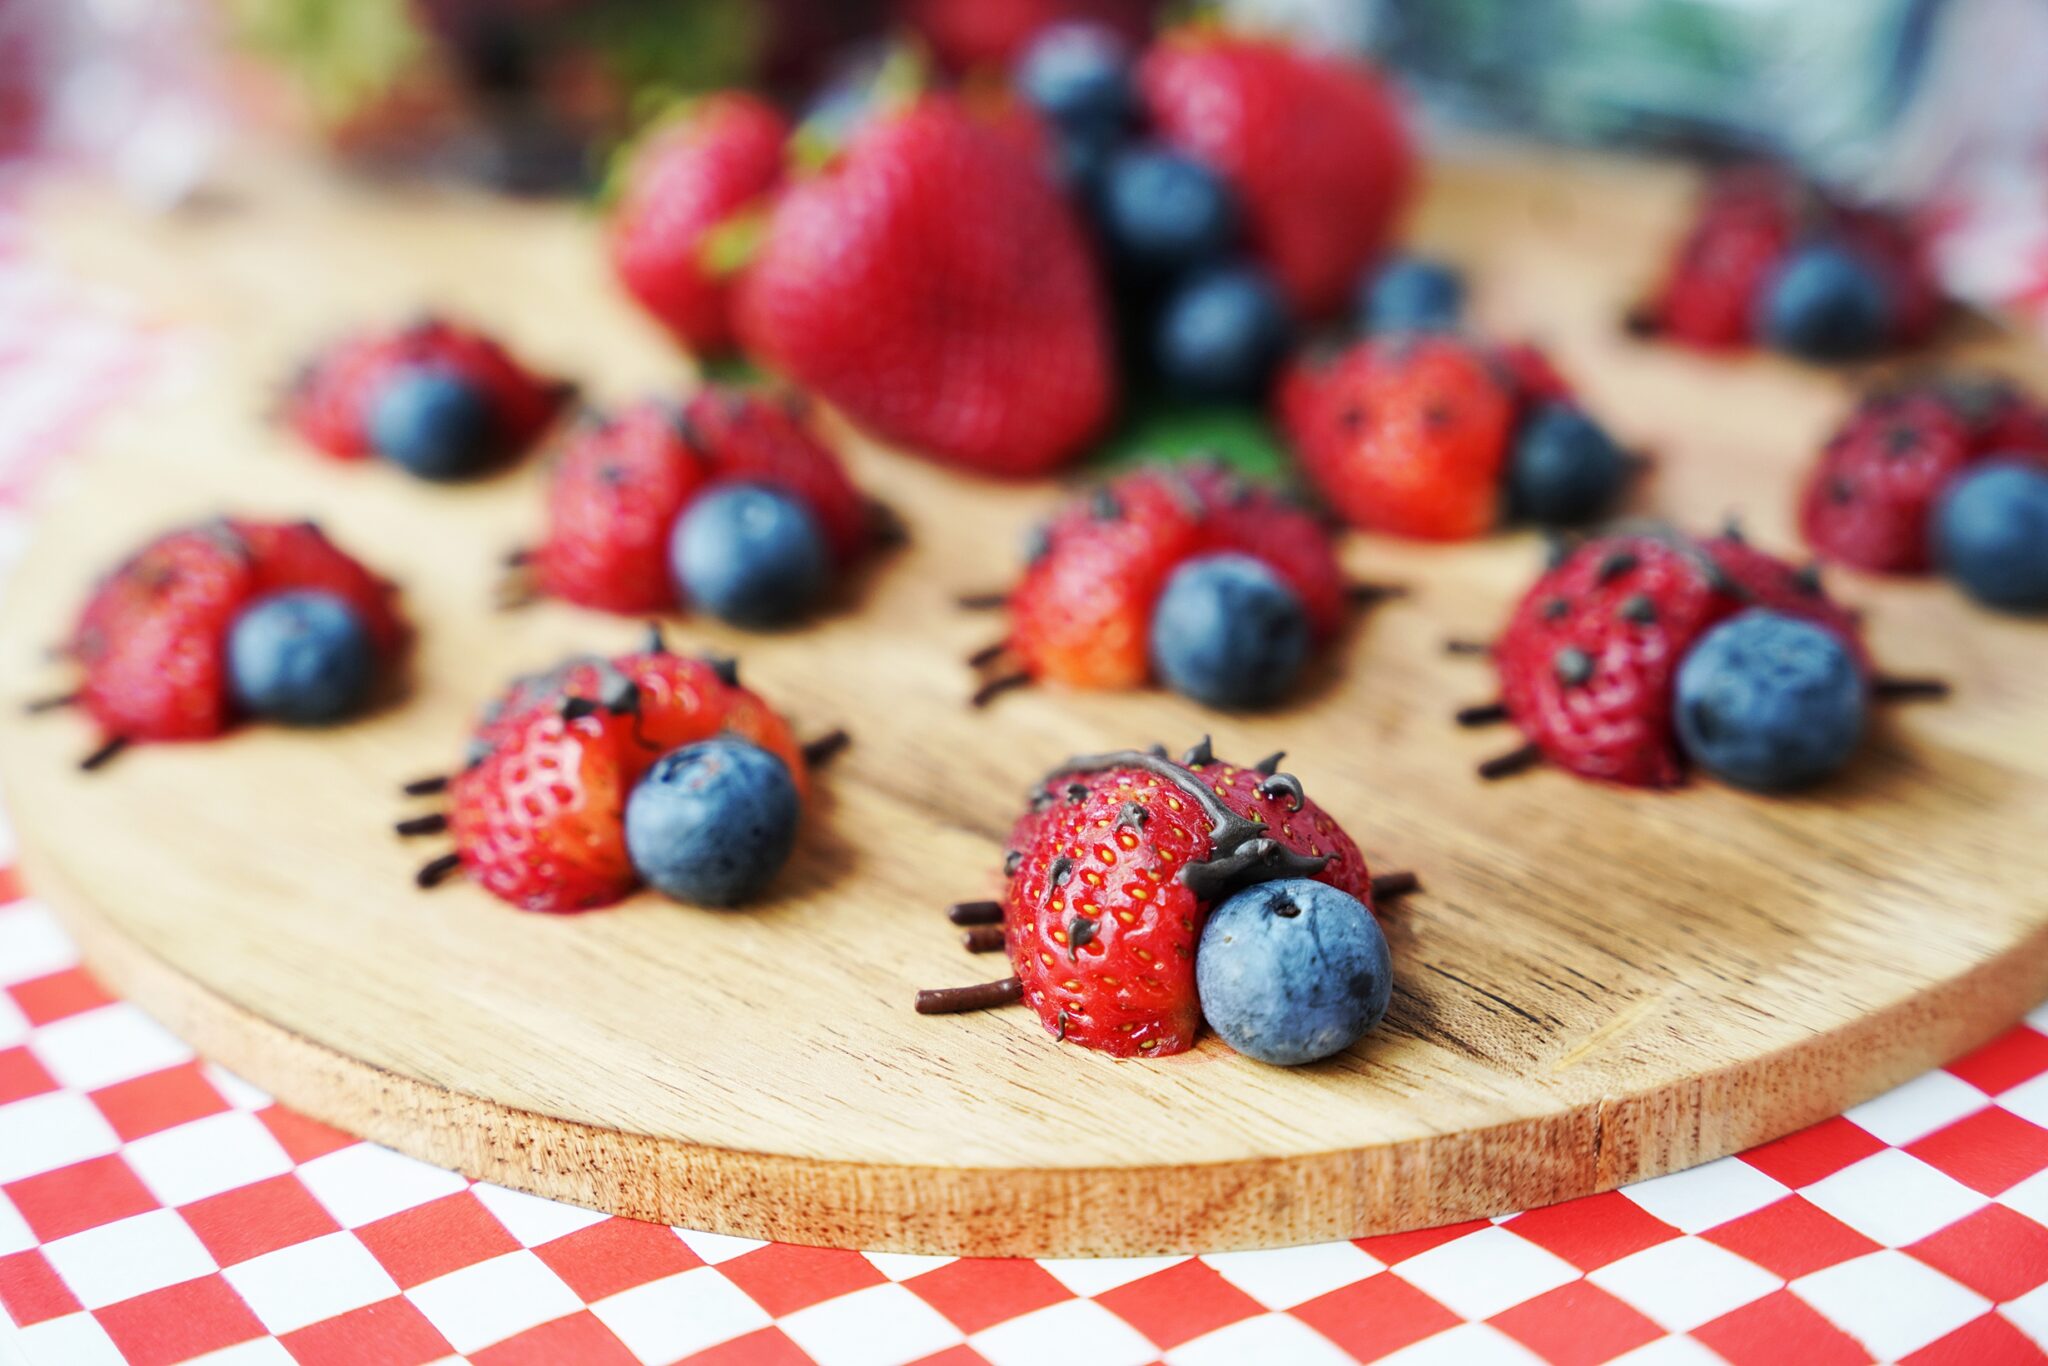
Let’s add the legs. Lay the chocolate sprinkles on your serving platter or dip them in the melted chocolate to attach them to the sides at the bottom of the strawberry body of your ladybug. Repeat on all of your ladybugs and serve.
Why We Love Naturipe®
Naturipe® takes extra care to cultivate their strawberries and implement sustainability practices. As they have worked to minimize their environmental impact in all aspects of their operationt, they’ve become a leader in produce for their full line of conventional and organic berries. Their commitment to sustainability and maintaining balance in our ecosystem, among other growing practices, has earned them our trust for delicious, sweet, and juicy berries every time.
Fun Food Art Recipes
- Graduation Dessert: Chocolate Strawberries — These fun chocolate strawberry graduation caps take about 15 minutes of prep time. They’re sure to be hit at any grad party.
- Animal Face Toast — Use your favorite fruit to make fun animal faces on your toast for a fun start to your or easy snack for your kids.
- Blueberry Penguin — Let your kids “play” with their food as they help you create a penguin out of blueberries.
- American Flag Cake — An easy vanilla cake recipe dressed up with blueberries and strawberries for a delicious summer celebration.
Strawberry Ladybugs
Equipment
- 1 piping bag
Ingredients
- 1 pint Naturipe® Strawberries rinsed and fully dried
- 1 pint Naturipe® Blueberries rinsed and fully dried
- 1 bag Melting Chocolate melted
- 2 Tbsp Chocolate Sprinkles optional for legs
Instructions
- Cut each strawberry in half lengthwise then remove the green caps of the strawberries by cutting a triangle at the top. This is where the blueberry head will go.
- Melt the chocolate, and pour it into a piping bag.
- Squeeze some chocolate onto a blueberry and attach it to the triangle cut out on top of the starwberry.
- Pipe the middle line down the middle of the strawberry to create the ladybug back and add the black dots.
- Dip the chocolate sprinkles in the melted chocolate (or lines of the melted chocolate) and attach them to the strawberry as the legs.
- Repeat with each strawberry until you've run out. Have fun!
Notes
- Microwave your chocolate in 30-second increments, stirring in between for a quick melting process.
- If you don’t have a piping bag, use a plastic Ziplock bag. Cut a tiny piece off one of the corners to pipe thin lines. Squeeze the melted chocolate down to the corner and start decorating your strawberry ladybugs.
- Want to skip the sprinkles? Pipe your legs with melted chocolate. It’s messy but just as fun (and will taste even better).
Nutrition
The post Strawberry Ladybugs: How to Get Your Kids Excited About Fruit appeared first on The Produce Moms.
